
 Tweet
Tweet
This is my first attempt in nearly 2 decades at creating a custom figure related to Green Lantern. I was captivated by the great custom jobs with Psycho Pirate so I decided to try my hand. I'll go through step-by-step phases of what it took to customize the figure.
Here he is in all his glory- still new in the package. I got it from my LCS for $5. Since he was a peg warmer, the owner couldn't wait to get rid of him.

Psycho with his mask on. I have big plans for the Live Wire figure next to him.

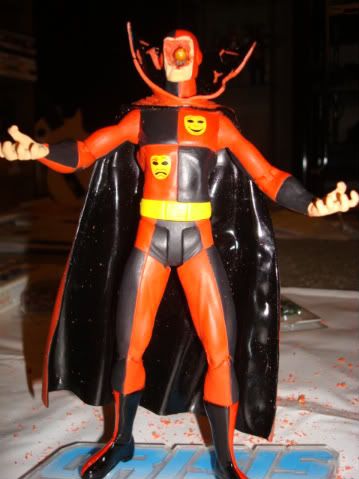
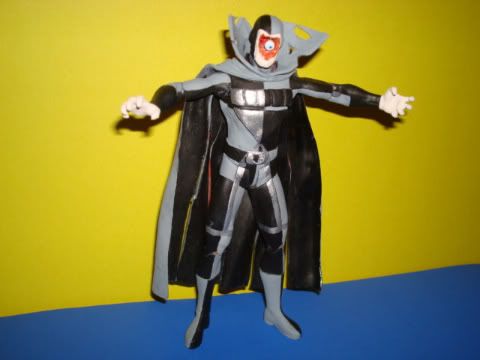
Here he is with the battle damage to his collar. I had to use a switch blade, scissors and a fingernail clipper to create the damage effect.

"Psycho Pirate! No more silly faces!" - Black Adam- Infinite Crisis

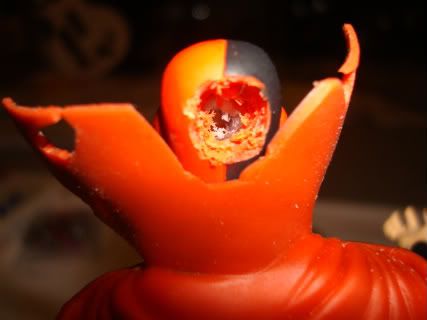
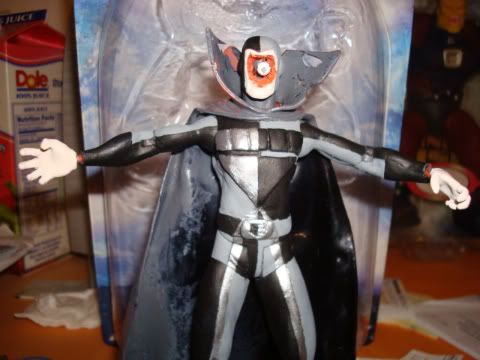
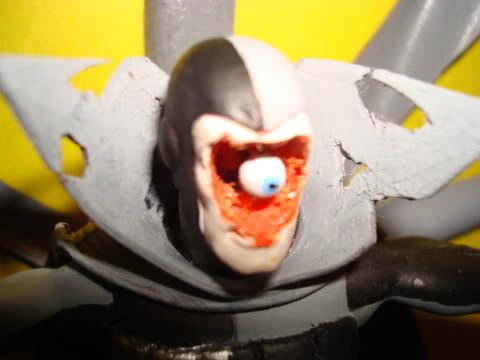
I think the eyeball is a bit too large. I used a push pin from Target. I found something at Michael's that might work a bit better. Even so, you can see the optic neve from which the eyeball dangles.
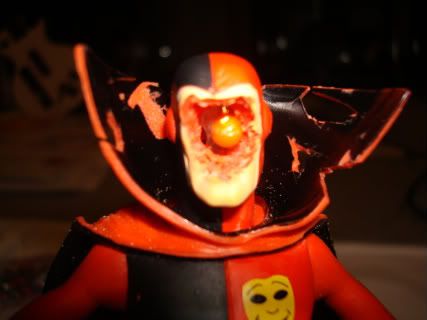
Tell us what's on your mind. Oh! Not much. I used a Dremel tool with various tips to get that 'hole in the head' look. When working on it, it kind of freaked me out. It's not every day I drill a hole in the head of something.
To make the Black Hand symbol, I used Mighty Putty.

It's that "as seen on TV stuff" in those infomercialls at 3 in the morning. I had never seen it before and since it was fairly inexpensive and didn't require any baking or water, I decided to give it a shot.

I decided to go Alex Ross and make the Black Hand symbol ridiculously large so it stands out better. I actually like it this way.
I was pleasantly surprised at how easy Mighty Putty was to scuplt, but this stuff dries FAST so you have to be quick on the draw otherwise you'll end up wasting quite a bit of this stuff. Like anything else, it's all about trial and error.
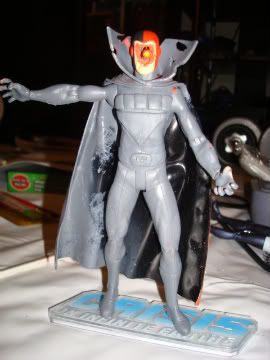
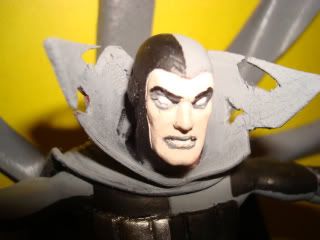
On this pic, I applied Testors Grey Primer. I love primer because the paint sticks to it. Without Primer, you have to apply at least 6 coats of paint before it sticks. By using primer, it more than cuts the number of coat applications in half.
Here, I started applying the paint. I used generic flat acryllic paints from Michael's. I don't use gloss because when I'm finish, I will apply Acryllic Gloss Sealer. I don't want the figure to appear too shiny like it was soaked in oil.

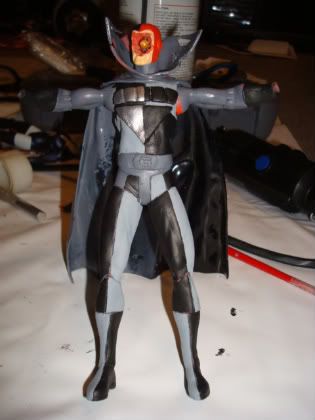
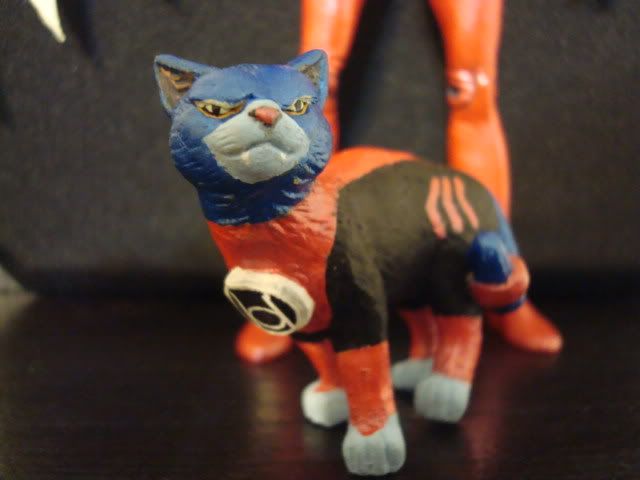
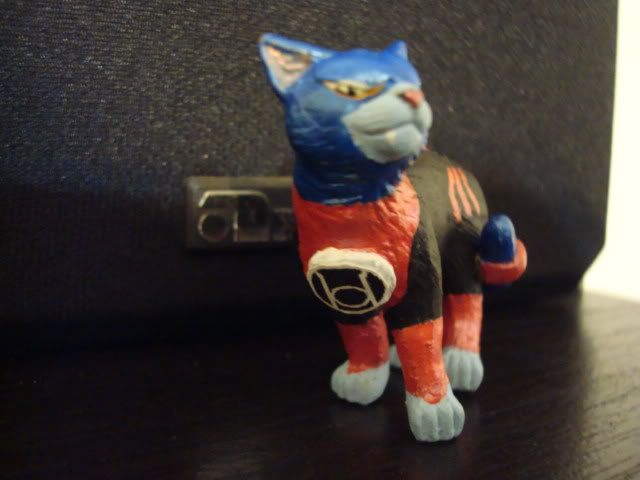
The hands of the figure pop right off so I decided to keep them separate.
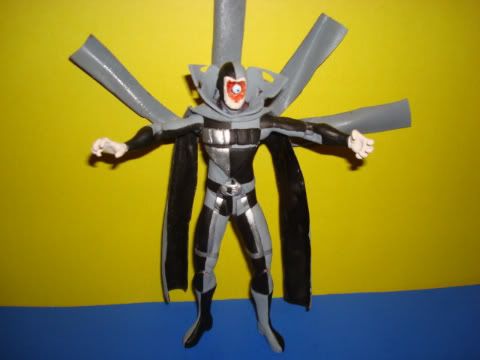
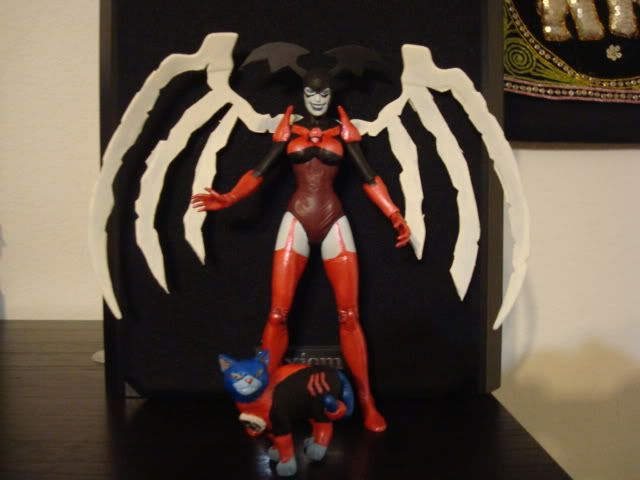
I still have some touch-up jobs obviously, but this is where I am now. When I'm finished, I'll post the final product... and I have BIG plans for that cape. It was a pain painting around the darn thing. I was going to detach it but it would be even more trouble to reattach it so I left it on.
For the flesh tone, I used a typical flesh color and added white to it to give it that zombie look. I didn't want his skin to appear totally white but close to it.

I haven't completely reattached the hands. I just slightly slid them in for photos sake. I still have to apply some ridges around his forearms as shown in the reference material.


I still have a way to go, but it's shaping up quite nicely.
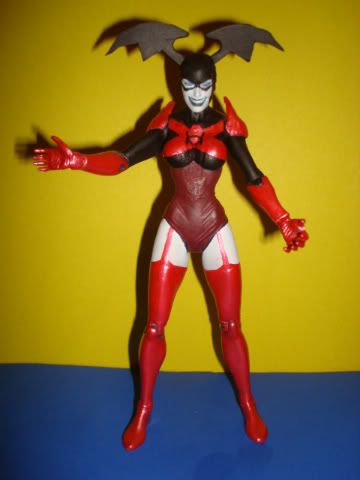
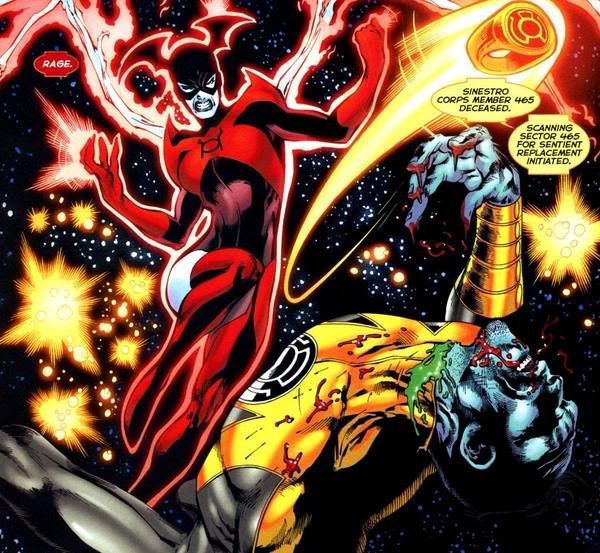
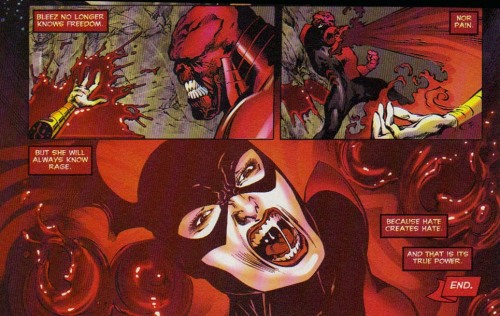
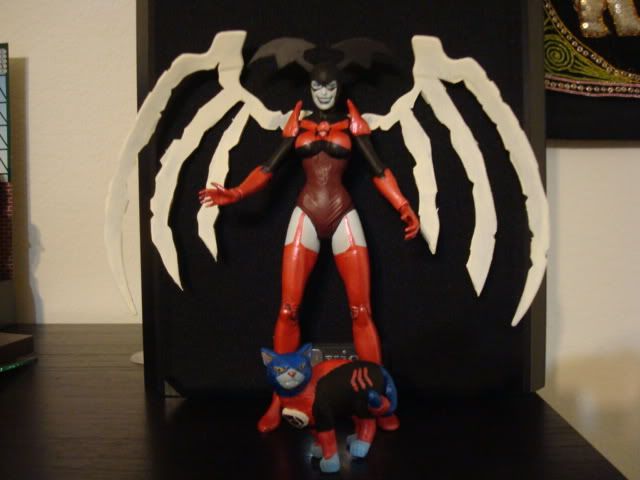
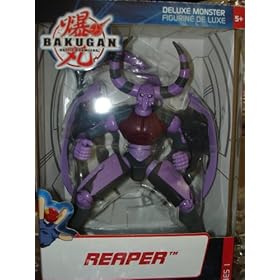
My reference material:

Here he is in all his glory- still new in the package. I got it from my LCS for $5. Since he was a peg warmer, the owner couldn't wait to get rid of him.
Psycho with his mask on. I have big plans for the Live Wire figure next to him.
Here he is with the battle damage to his collar. I had to use a switch blade, scissors and a fingernail clipper to create the damage effect.
"Psycho Pirate! No more silly faces!" - Black Adam- Infinite Crisis
I think the eyeball is a bit too large. I used a push pin from Target. I found something at Michael's that might work a bit better. Even so, you can see the optic neve from which the eyeball dangles.
Tell us what's on your mind. Oh! Not much.
I used a Dremel tool with various tips to get that 'hole in the head' look. When working on it, it kind of freaked me out. It's not every day I drill a hole in the head of something. To make the Black Hand symbol, I used Mighty Putty.
It's that "as seen on TV stuff" in those infomercialls at 3 in the morning. I had never seen it before and since it was fairly inexpensive and didn't require any baking or water, I decided to give it a shot.
I decided to go Alex Ross and make the Black Hand symbol ridiculously large so it stands out better. I actually like it this way.
I was pleasantly surprised at how easy Mighty Putty was to scuplt, but this stuff dries FAST so you have to be quick on the draw otherwise you'll end up wasting quite a bit of this stuff. Like anything else, it's all about trial and error.
On this pic, I applied Testors Grey Primer. I love primer because the paint sticks to it. Without Primer, you have to apply at least 6 coats of paint before it sticks. By using primer, it more than cuts the number of coat applications in half.
Here, I started applying the paint. I used generic flat acryllic paints from Michael's. I don't use gloss because when I'm finish, I will apply Acryllic Gloss Sealer. I don't want the figure to appear too shiny like it was soaked in oil.
The hands of the figure pop right off so I decided to keep them separate.
I still have some touch-up jobs obviously, but this is where I am now. When I'm finished, I'll post the final product... and I have BIG plans for that cape. It was a pain painting around the darn thing. I was going to detach it but it would be even more trouble to reattach it so I left it on.
For the flesh tone, I used a typical flesh color and added white to it to give it that zombie look. I didn't want his skin to appear totally white but close to it.
I haven't completely reattached the hands. I just slightly slid them in for photos sake. I still have to apply some ridges around his forearms as shown in the reference material.
I still have a way to go, but it's shaping up quite nicely.
My reference material:


Comment